
Short answer: A mains-and-12 V inflator earns its place when you will use it in two locations and can verify both supplies. The ATJ-8366 lists AC 110-230 V, DC 12 V, 35 L/min airflow, a 2.8 m lead and a 63 cm hose. Build the purchase around the socket arrangement and the furthest valve, then use the vehicle placard or handbook for the target pressure. The documented range does not tell you which UK plug or fuse protection is supplied. ATJ-8366 dual-power AC/DC car tyre inflator is the documented product used for this comparison.
Buy for the route from socket to valve
A mains-and-12 V inflator earns its place when you will use it in two locations and can verify both supplies. The ATJ-8366 lists AC 110-230 V, DC 12 V, 35 L/min airflow, a 2.8 m lead and a 63 cm hose. Build the purchase around the socket arrangement and the furthest valve, then use the vehicle placard or handbook for the target pressure. The documented range does not tell you which UK plug or fuse protection is supplied. A mains-and-12 V inflator earns its place when you will use it in two locations and can verify both supplies. The ATJ-8366 lists AC 110-230 V, DC 12 V, 35 L/min airflow, a 2.8 m lead and a 63 cm hose. Build the purchase around the socket arrangement and the furthest valve, then use the vehicle placard or handbook for the target pressure. The documented range does not tell you which UK plug or fuse protection is supplied.
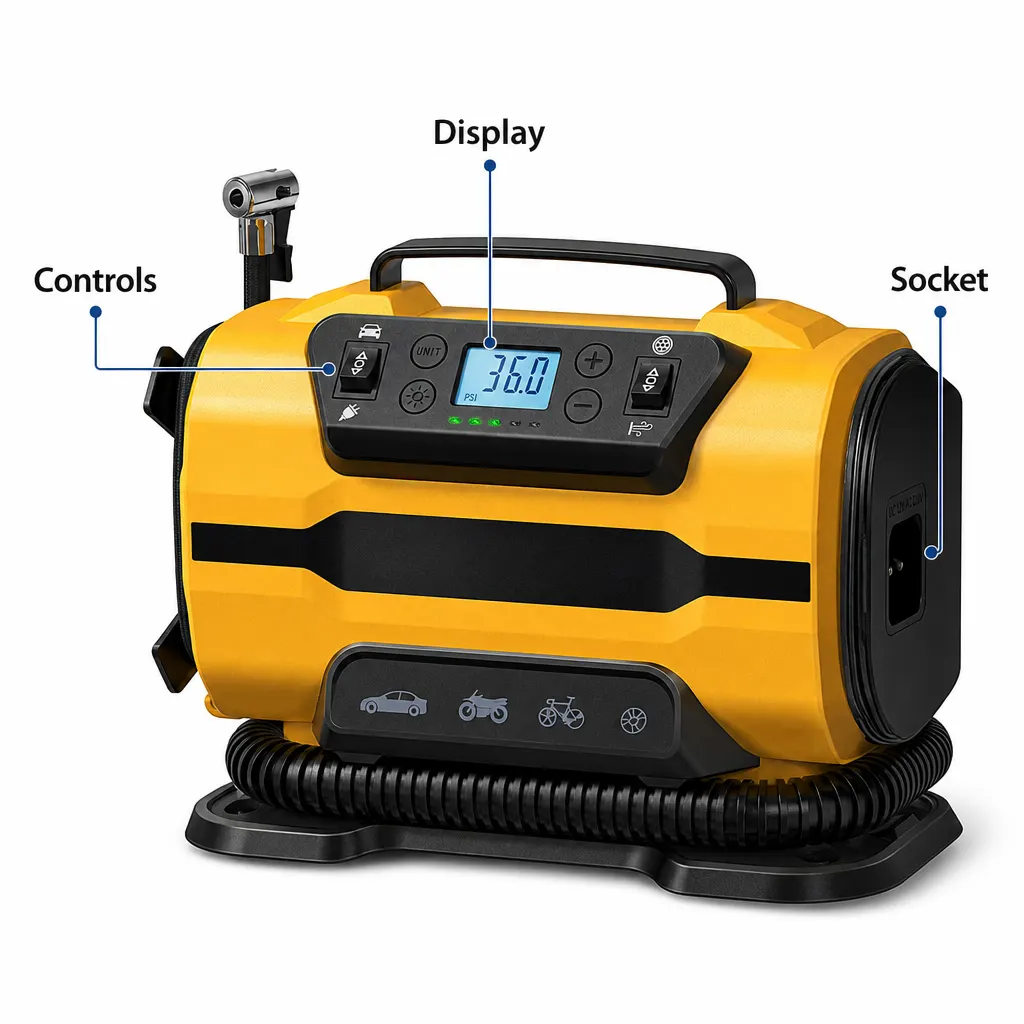
Check AC and DC as separate installation questions
| Checklist item | Documented | Still to verify |
|---|---|---|
| AC | 110-230 V | UK plug and socket arrangement |
| DC | 12 V | Vehicle socket and fuse guidance |
| Air and reach | 35 L/min; 2.8 m + 63 cm | Actual task time and duty cycle |
Set PSI or bar from the vehicle
- Map the home and vehicle sockets.
- Check the route to all valves.
- Use the handbook or placard pressure.
- Inspect the connector and final reading after use.
Keep undocumented electrical details open
Duty cycle, fuse rating, plug type, noise, measurement accuracy and inflation time are not specified here. Do not fill those gaps with a generic compressor specification.
Turn the checklist into a purchase decision
The ATJ-8366 is a fit when both power routes are useful and the remaining installation checks are answered. For related context, see Mains Tyre Inflator for a UK Garage: Socket and Reach Checks. For related context, see Portable Tyre Inflator Duty Cycle UK: What to Check. The documented next step is the ATJ-8366 dual-power AC/DC car tyre inflator.
Use the product page as the final check for the documented model, included items and stated limits before ordering.
Use the product page as the final check for the documented model, included items and stated limits before ordering.
Set up a sensible pre-journey pressure routine
For a planned check in the home garage, find the vehicle manufacturer's recommended tyre pressures before connecting the inflator. Use the values intended for your vehicle and load rather than copying a number from another car or relying on an unsupported maximum associated with an inflator. Position the ATJ-8366 where its documented lead and hose can reach without being pulled tight, select the power source that matches the location, and use the digital display and tyre-pressure gauge to follow the adjustment. Repeat the same orderly process at each wheel rather than moving the car mid-task if avoidable.
Before placing the inflator in the boot, check that the intended 12V socket is accessible when luggage is loaded and that the 2.8 m power lead and 63 cm hose suit the route to the wheels. Keep the connections and hose arranged so they can be found without unpacking the whole boot. The grounded next step is simple: measure your garage, driveway and vehicle setup, confirm the mains plug and complete contents, and compare those answers with the ATJ-8366 facts. If any essential point remains unclear, resolve it before buying rather than hoping voltage wording will cover the gap.